Neutering Your Dog: Everything You Need To Know
By admin / June 29, 2022 / No Comments / Pet Dogs
Neutering is a big decision for dog owners. Knowing and understanding exactly what happens is sometimes really useful for non-veterinary professionals to understand what actually happens – in leymans terms.
This is being written in order to give you transparency and is not a guide for the procedure.
This article will also be a little intense, and if you’re not confident with reading the full details? Then please don’t! This may be a little much.
A pretty standard discussion among veterinarians and dog owners is the question about getting their pooch “fixed.” Some owners are on board entirely with minimal concerns, but others are more nervous and want details on the approach and their companion’s safety.
No matter which type of owner you are, it doesn’t matter to me! I’m here to tell you what’s up with getting your dog neutered because trust me when I say the only balls he needs are the ones that he chases in the yard.
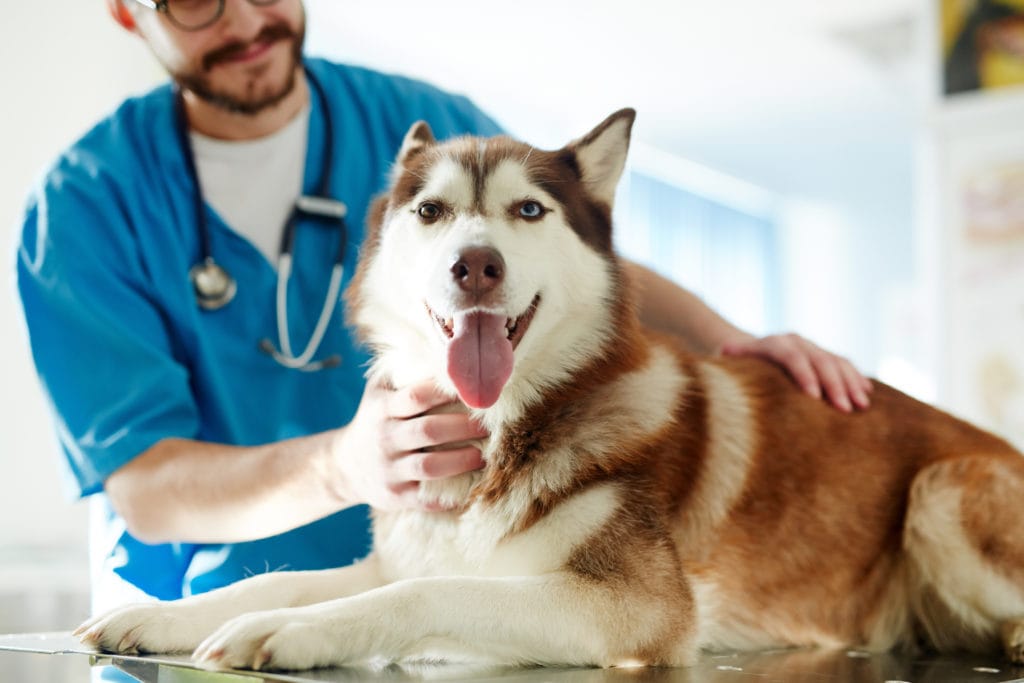
First Decide When you Want To Do It
This is a big decision.
Discuss it with your vet, discuss it with your breeder and check out the latest breed specific data I’ve compiled for you.
When you’ve decided that this process is for your dog and you’re confident you’re doing it at the right time, then book in.
What To Expect At The Vet
The first, and most important step, is to have an established relationship with a veterinarian, preferably the one that is going to be neutering your pup. Ideally, they will also be up to date on vaccinations and appropriately dewormed up to the point of the procedure.
- Meet your vet, preferably before the day of surgery.
- Physical exam to check overall health and condition prior to surgery. (especially heart and lungs)
- Up to date on vaccinations (as much as possible depending on their age)
- Blood work prior to anesthesia to ensure they are not anemic and their kidney and liver function is appropriate.
No matter the age that your dog is, whether they are a puppy or 3 years old, it is crucial that you have met your veterinarian and they have seen your dog is healthy enough to undergo surgery. Always inform your vet if your dog has been having any kind of health issues, no matter how small it may seem.
If your dog needs a microchip, this is the perfect opportunity to have your vet do this!
It’s a pretty big needle, so they would probably prefer to be asleep for it.
After that, your veterinarian should have your pet’s current weight, medical history and condition and they will most likely take it from there. Try not to worry, it’s a big day for you, but not nearly as big of a day as it is for your dog.
If you are at all unsure about this procedure, then check out our article on the top 47 questions about neutering and their explanations.
What Happens After You’re Gone?
The average clinic will take your dog into the treatment area where the veterinary technicians do the rest of the work until the veterinarian’s part. Assuming that your dog isn’t the only pet that they are performing surgery on that day (because it’s very likely he isn’t), the technicians will obtain their small blood sample in as stress free of a manner as possible and then place your dog in a clean kennel with a blanket to hang out in until the doctor is ready to proceed.
Once your dog’s blood work has been run and the results have been interpreted, if everything looks good then the doctor and techs will begin the process.
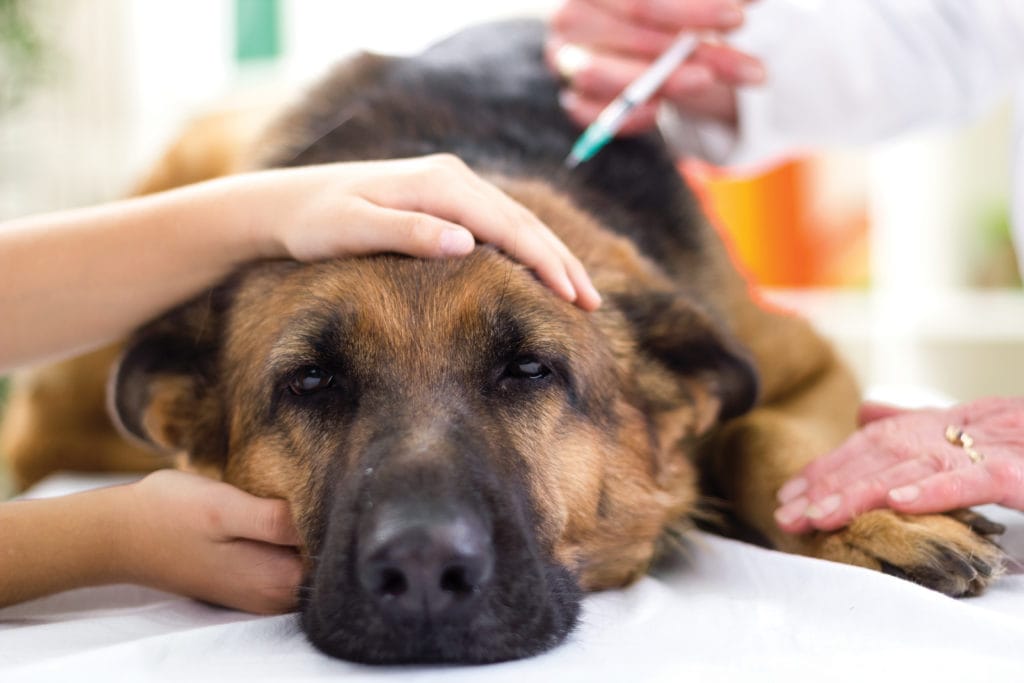
Step 1: Giving Your Dog Their Pre Meds
“Pre meds” is a shortened term for presurgical medications. These are given as an injection and they are typically a combination of two or three agents from four or five drug classes, such as NSAIDs, opioids, anticholinergics, sedatives and tranquilizers.
Now, they certainly don’t give all of those! The average hospital will combine a common injectable opioid with some type of mild sedative to help your dog feel calm and relaxed prior to being induced under anesthesia.
Step 2: IV Catheter And Induction
The next step takes place after your dog has had some time for their pre meds to kick in – typically 20-30 minutes later. Once they are feeling relaxed and the doctor deems them ready to move on, the technician will place an intravenous catheter into your dog’s front arm and from there they will administer their anesthetic induction agent.
An anesthetic induction agent is typically a combination of a benzodiazepine and a cyclohexamine. Propofol is also a common induction agent used in veterinary medicine and human medicine alike. It is in a class all of its own and is unique in its short onset of action and its quick and simple recovery.
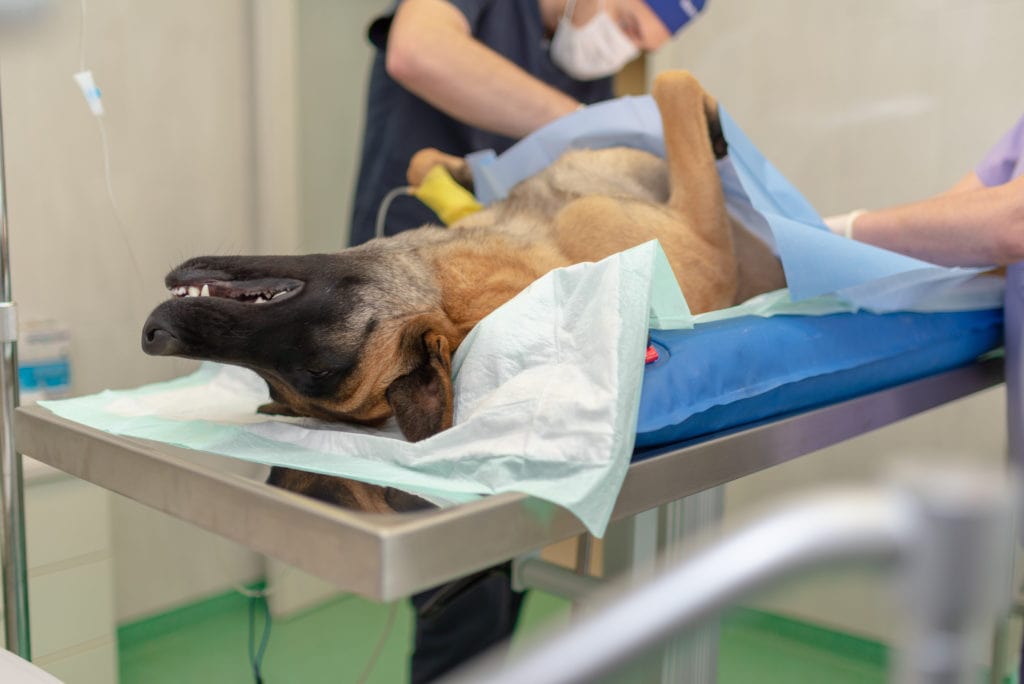
Step 3: Intubation And Transfer To Surgery
After your dog is successfully asleep with their induction agent, the technician will place an endotracheal tube into the pet’s trachea and secured it. Afterwards the tube will be connected to an anesthetic machine that will administer a mixture of oxygen and gas. This is what will maintain them under anesthesia so that the doctor can perform and complete the procedure.
Some facilities have a small, portable anesthetic cart that they can move around on wheels in the treatment area. If this is so, they will usually prep the patient for surgery by shaving and giving a mild scrub of the incision area before transferring them into their surgery sweet and being hooked up to the larger, stationary anesthesia machine.
Once in surgery, your dog will be hooked up to several pieces of monitoring equipment, consisting of an EKG for heart monitoring, blood pressure machine and IV fluids.
Step 4: Scrubbing The Surgical Site
The cleaning, or “scrubbing”, of the surgical site is extremely important as it sterilizes the area, ensuring that it is free of bacteria. The area should be shaved as close to the skin as possible – it can be hard to shave a dog, especially their balls. And the saggier, the worst! Another reason why it’s better to have them neutered while they’re puppies.
- The shave: After the area, from the scrotum to a few inches above, has been shaved, the technician will then use two cleaning agents to sterilize the incision site properly: gauze soaked with alcohol and gauze soaked with diluted chlorhexidine scrub.
- The “target” scrub: It should be cleaned first of all debris, then alternating the alcohol and chlorhexidine gauze, the skin will be wiped in a “target” or circular direction starting from the middle and working outward, careful not to overlap, so that the remaining hair and debris is removed.
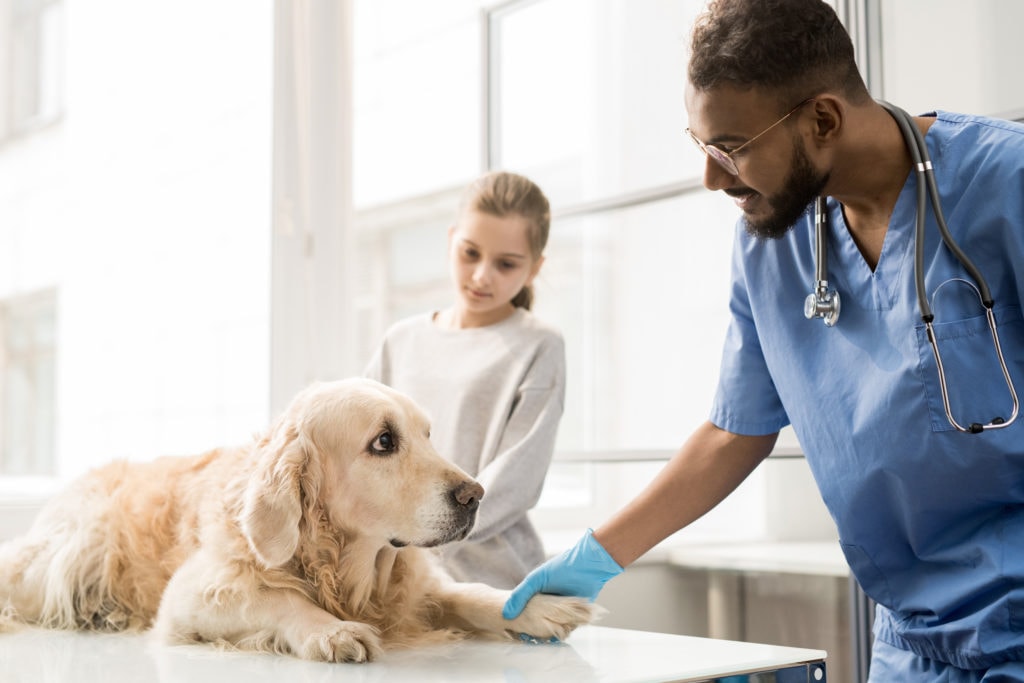
Step 5: The Incision
Once the doctor is gowned-up with sterile gloves and ready to go, they will open their sterile pack and place their sterile drape over the sterile surgical site. The incision for a neuter is pretty small and is generally going to be made as a “pre-scrotal approach” which means that the cut is made in front of the scrotum, not on it.
Step 6: Exteriorizing The Testicles
Once the doctor has made their first cut with the pre-scrotal approach, the testicles are gently pushed up through the incision one at a time. From there, the veterinarian will proceed by using one of two methods for the remaining part of the neuter: the open vs closed castration technique.
- Open castration: with an open castration, the doctor will expose the internal workings of the vaginal tunic, which houses the vascular cord among other things. They then tie off the individual blood vessel with two ligatures, as well as the other remaining structures and proceed with removing the testicle from there. Ligatures, or ligating, is how the veterinarian ensures the vessels that were once going to the testicles do not bleed. It is believed that this method works well at preventing ligature slipping and post-operative bleeding in very large and mature canines.
- Closed castration: this is the method that almost all veterinarians are going to use when neutering a dog. The closed castration involved exteriorizing the testicles the same as the open castration method, however there is no further cutting and the vaginal tunic is left intact. The structures are clamped with hemostats and two ligatures are placed using a dissolvable suture over each testsicles cord and they are then removed.
Transfixing ligatures are occasionally used by doctors to ensure that the ligature doesn’t slip once it is tucked back into the body. This is another method to prevent bleeding post operatively.
Step 7: Closing The Incision Site
Once all of the vessels are clamped and ligated and there is no bleeding, the veterinarian moves onto the phase of surgery where they close everything up. There are two layers of suture that goes into closing, the subcutaneous layer and the skin sutures.
The technician will apply a drop or two of tissue glue to the incision and clean it all up, making everything pretty again.
Next up – wake up!
Step 8: Wake Up And Recovery Time
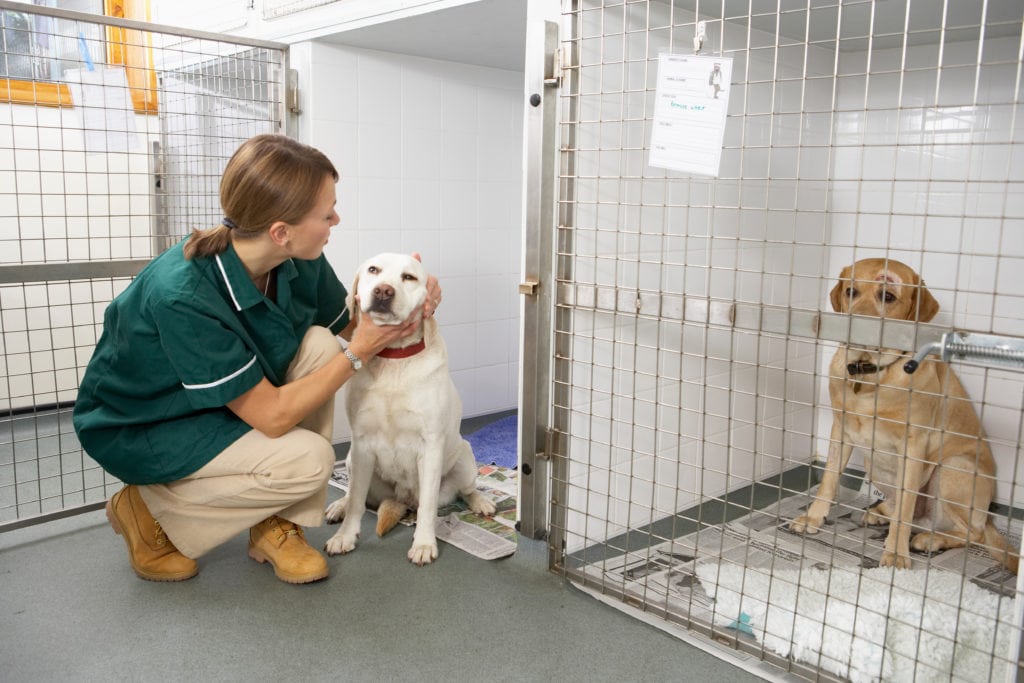
The waking up process and extubation (removal of the ET tube) should be smooth and easy, as a neuter is far less invasive than a spay, but let’s not discredit the boys! Neuters are certainly no walk in the park, even though most young dogs still leave the hospital with as much energy as they walked in with.
As your dog is waking up from anesthesia, the technician will check their temperature and provide them with a gentle heat source and some blankets. While they are still asleep, most hospitals give them another pain injection as well as an injectable antibiotic.
Step 9: Tech Checks And Discharge
The technicians will check on your pet frequently throughout the next few hours and ensure there is no abnormal bleeding and that they otherwise appear to be recovering appropriately.
Your pup should be sent home with an Elizabethan collar, aka “cone of shame” or “lampshade of doom” and several days of an anti-inflammatory pain medication.
It’s good to note right now that there are alternatives to the Cone Of Shame! Your vet may discuss this with you, but otherwise you absolutely can purchase these for yourself.

Step 10: Recovery At Home
Ensure that your dog is not too active at home for the first few days and do not allow them to lick at their incision. If your dog’s scrotum appears to be swelling or there is any sign of an abnormal appetite or demeanor, then call your veterinarian right away.
The older that your dog is, the longer that you should expect them to start to feel more themselves. They should take a full 10 – 14 days to properly heal from their neuter, however they were probably acting pretty normal right away, especially if they were a happy, healthy puppy to begin with.
It is really good to note that your dog may be in pain and it can create a bite risk. So please be extra careful around them.
My Experience
When I got Indie his surgery done, we found that he swelled a lot. So, I did have to get him some stronger painkillers which really knocked him out. But, after a few days he was recovering well. We opted for an inflatable doughnut (because the cone of shame was taking lumps out of my walls and doorframes), this worked really well for a time, but I’ve since learned that there are other options, including a medical or Surgical Suit. Much easier option on them!
Well, I hope that gave you the confidence!
I’m a huge fan of giving you guys everything you need to know to make an informed decision. So, demystifying this process was my only goal for this piece.
I know it’s a big procedure, and I know it’s not the easiest thing on your dog, but it does come with some good benefits.
From a Training point of view, remember when you do go back to walking that you should reintroduce them gently. Pain is a huge reason for your dog to get cantankerous and it could lead to a bite. So, please do (essentially) increase your distance when re-socialising your dog to prevent behavioural issues.
If you’re looking for some fun tips for keeping your puppy happy but also calm and content during their recovery from surgery, check out these 12 ideas!
Author, Ali Smith
Ali Smith is the Positive Puppy Expert, dog trainer and is the founder of Rebarkable. She is passionate about helping puppy parents get things right, right from the start. To help create a puppy capable of being a confident and adaptable family member and keep puppies out of shelters.
Ali has won multiple awards for her dog training, and has had her blog (this blog!) rated as 2021 & 2022 worlds’ best pet blog!
Link to originalRebarkable
